
Fruity Pebble Macarons
Oh, I just love these airy little confections—and mastering them has been one of my proudest baking accomplishments.
Macarons can seem intimidating, but they're more about technique than difficulty. Once you understand the key principles and tricks for success, you too can master them in your own kitchen.
I spent considerable time reading recipes, calculating ratios, and sifting through the commentary and strong opinions of other bakers. After experimenting on my own and trying numerous variations, some advice proved essential, while other ‘rules’ turned out to be surprisingly flexible.
Every baker's macaron journey is unique—success comes from understanding your technique, your oven, and even your local weather to achieve consistent results. After oodles of batches, I've landed on the below method, but I encourage you to experiment and discover what works best in your kitchen!
Take a peek at my Macaron Pinterest Board for inspiration and ideas!

Emoji Macarons
Ingredients:
140g Almond Flour
140g Icing Sugar
~~~~~
115g Egg Whites (from ~4 eggs)
115g Caster Sugar
1/2 tsp Cream of Tartar
My Process:
Set eggs aside for 1-2 hours before making meringue.
Prepare baking sheets with a silicon mat and pre-heat oven to 300 degrees.
Sift almond flour and icing sugar together twice and set aside.
Whip egg whites in mixer until bubbles form, then add cream of tartar. Slowly add in caster sugar until mixed and let mixer whip until meringue forms. (This can take 5-7 minutes).
Gently fold dry ingredients into meringue. I fold in half at a time, careful not to over mix or it will deflate the air from the meringue. I use the ‘figure eight’ test to determine when the perfect consistency is achieved.
Add your macaron shell batter to a piping bag with a wide circular tip.
Pipe batter onto prepared sheet pans.
Tap trays and pop air bubbles to remove excess air.
Let trays rest for approx. 20-30 minutes until a skin has formed on the shells.
Bake at 300, one tray at a time. 7 minutes. Rotate tray. Another 5 minutes. Then remove tray.
Let the shells cool completely on the trays. Any attempt to remove before they are cool will leave some of the shell stuck to the silicon mat.
Assemble shells with desired fillings and decoration.

Lemon Lime Macarons
My Tips & Tricks:
MEASURE BY WEIGHT - Invest in a quality food scale and weigh all of your ingredients. Macarons are delicate, and precision in your ratios makes all the difference between success and frustration.
SIFT TWICE - Sift your dry ingredients together at least twice. Almond flour is coarse, and if you want smooth macarons that don't look grainy, this step is essential. When I'm infusing other dry ingredients (like fruity pebbles or cocoa), I pulse them in the food processor before weighing, then sift everything together with the almond flour and icing sugar for even distribution.
NO PLASTIC - Use only metal bowls and tools. I discovered plastic can harbor tiny oil residues that will absolutely ruin your meringue. I now use only metal, sometimes glass, and even use a stainless steel spatula when folding dry ingredients into the meringue. This single change transformed the integrity of my meringue and my success rate.
EGG WHITES - I leave eggs out a few hours before whipping. If I'm short on time, I'll set the container in a bowl of warm water to gently warm them to 70-75°F. I whip them in my stainless KitchenAid bowl until foamy, then add a pinch of cream of tartar for stability. Some recipes call for other types of sugar, but I've found that slowly adding superfine sugar (aka caster sugar) yields the most angelic meringue.
COLOR - Add gel food coloring to the meringue if coloring the entire batch. For multiple colors, divide your batter slightly under-mixed, then add color to each portion as you fold to the proper consistency. If you wait until figure eight is achieved and then add color, it will be over-mixed.
FLIP YOUR TRAYS - Turn your sheet trays upside down so the lip is on the bottom. The raised edges can create uneven heat distribution, causing shells around the perimeter to brown, crack, or develop inconsistent feet. This one flip solved several issues for me!
AIR BUBBLES - Firmly slap your trays down on the counter and/or rap the trays from underneath to release trapped air bubbles that could otherwise crack your shells during baking. I also spend a couple of minutes hovering over my trays with a toothpick to pop any remaining bubbles before the shells start to set.
RESTING - I let my shells rest for 20-30 minutes before baking. This allows the outer surface to form a skin, which encourages air in the batter to escape through the bottom edge (creating those glorious little feet!) instead of through the top, which causes cracks.
ONE TRAY AT A TIME - There can be only one tray in the oven at a time—seriously! Multiple trays disrupt heat circulation, causing uneven rising, lopsided shells, and inconsistent results. Don't rush this step.
COOL COMPLETELY - Let your shells cool completely on the tray before you attempt to remove them. If you find sticky bottoms, they might not be fully cooled yet. Alternatively, they could be under-baked—it's okay to return them to the oven for a few extra minutes to dry out. But even after extra baking time, let them cool completely before moving.

Circus Animal Cookie Macarons
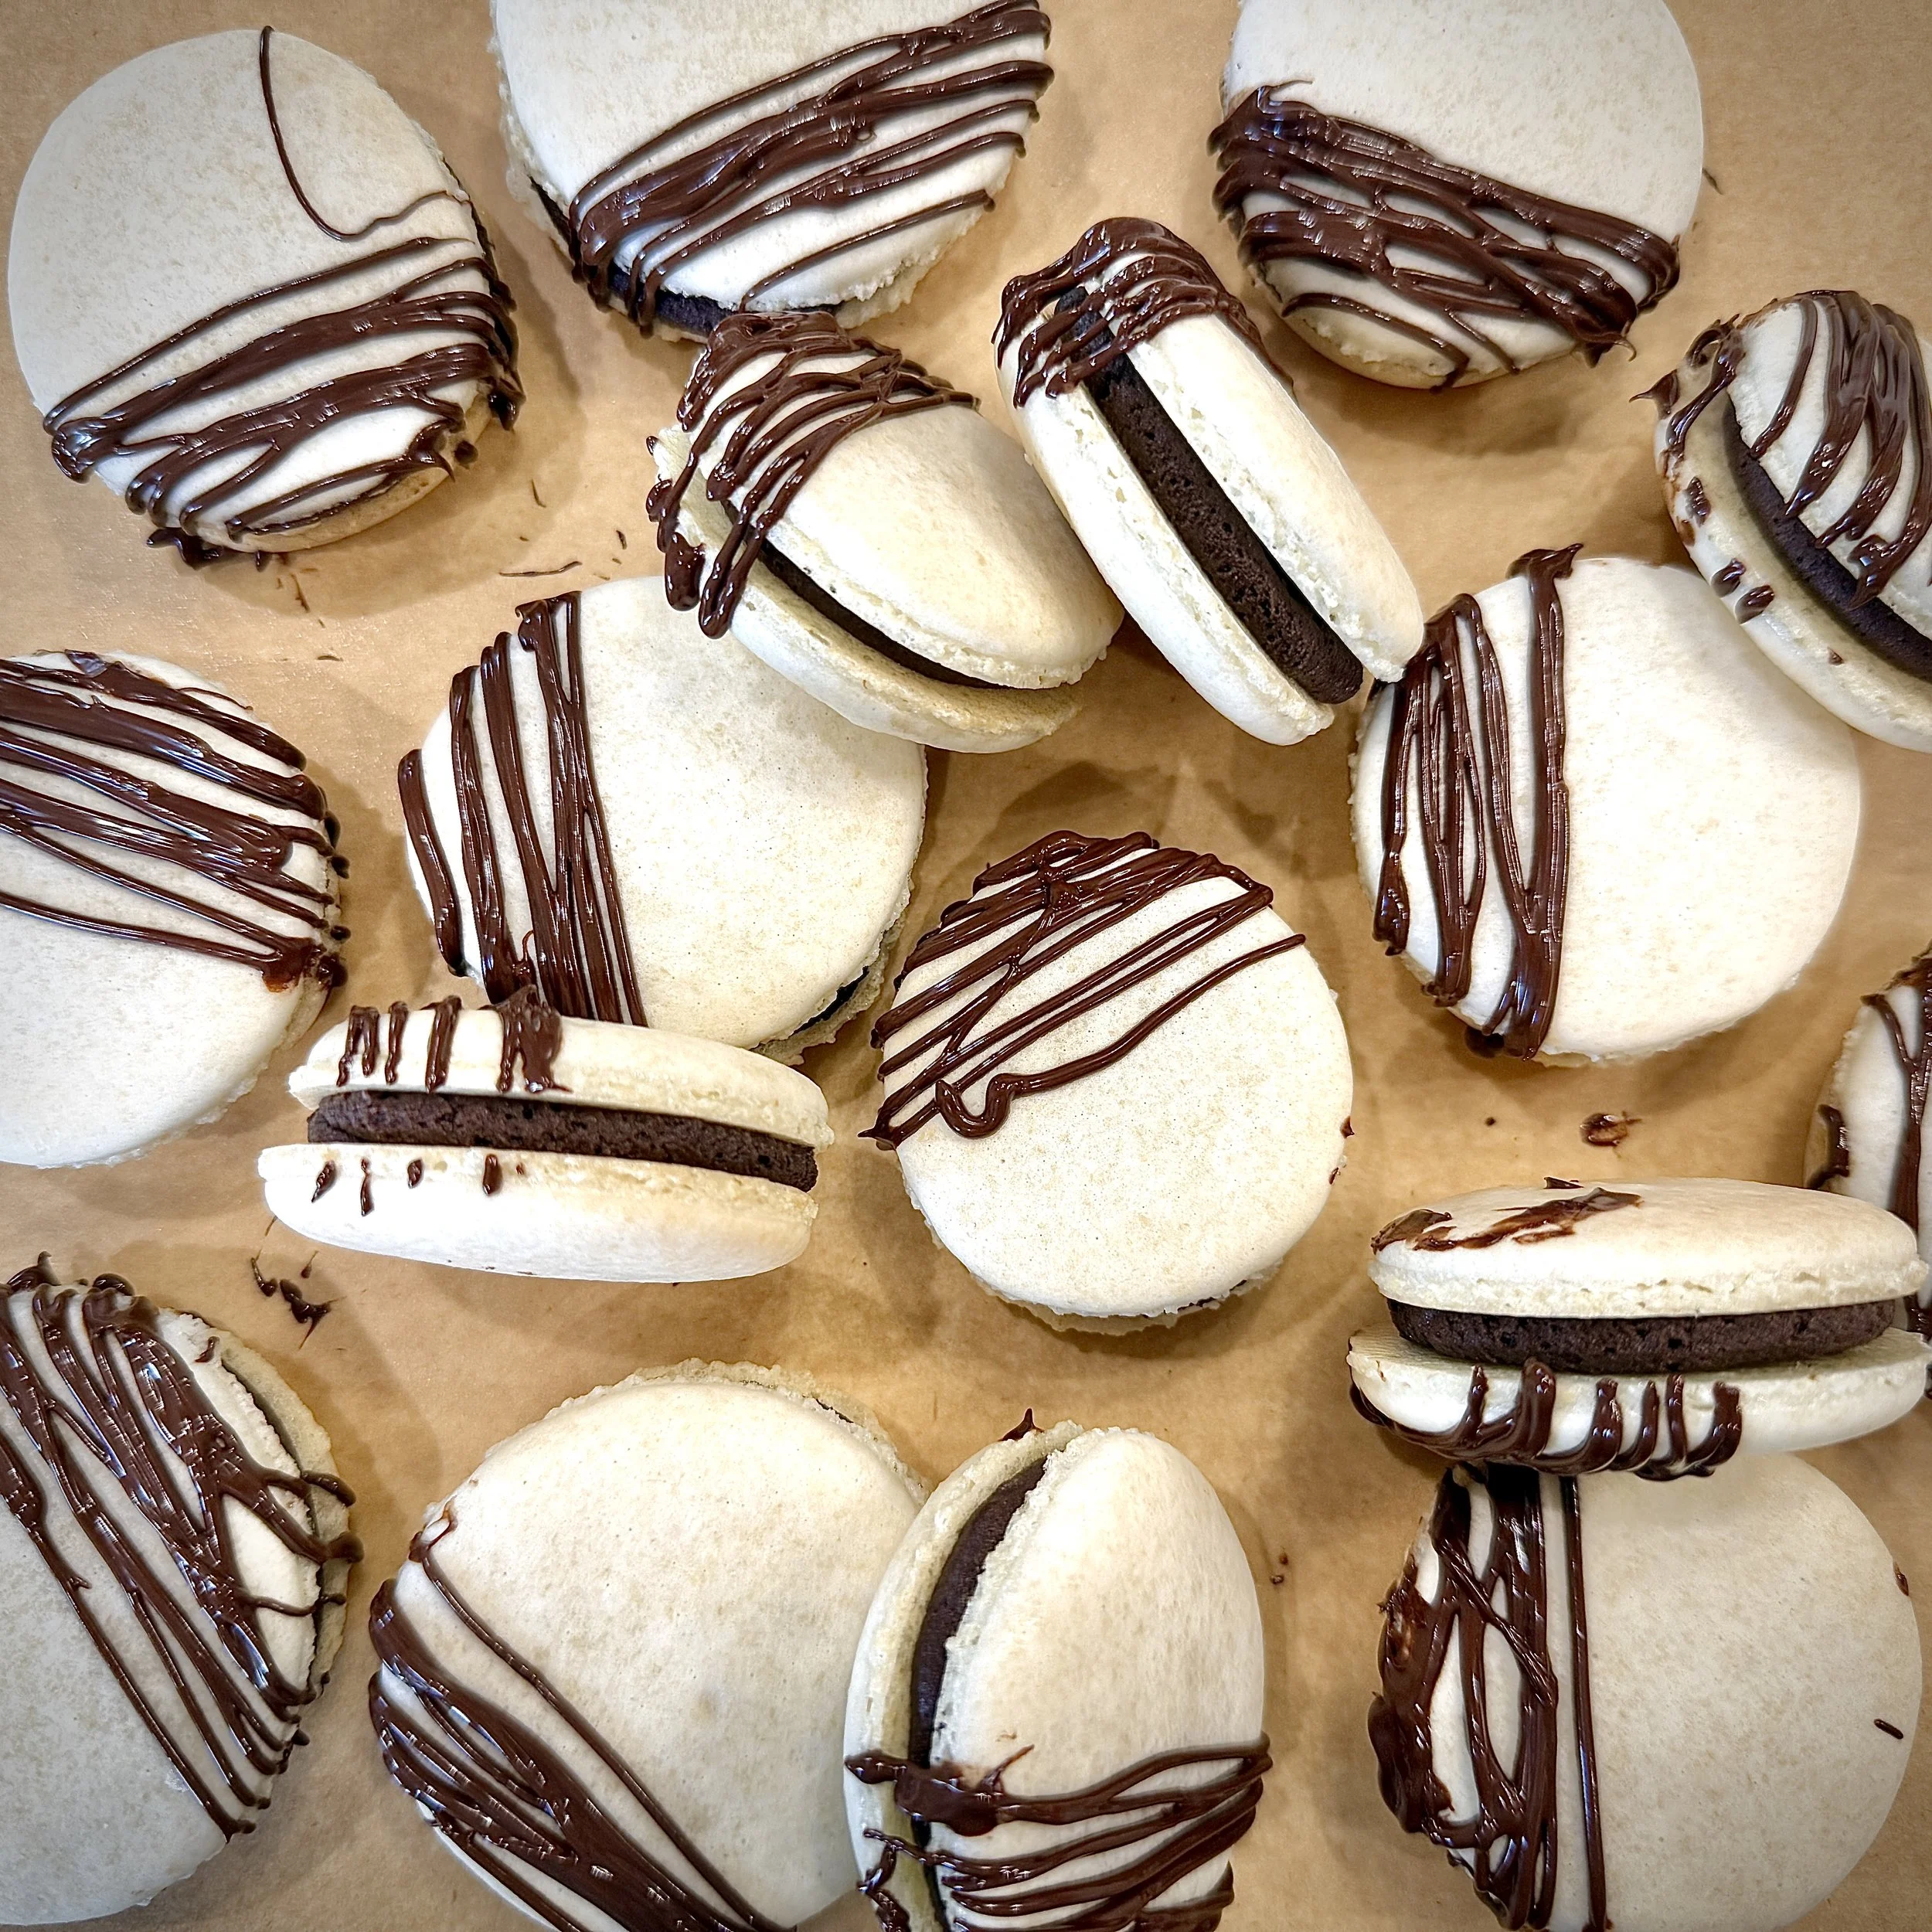
Chocolate Cream Macarons
Flavors I’ve made:
Classic Vanilla
Chocolate Cream
Chocolate Peppermint
Vanilla Bean
S’mores
Fruity Pebbles
Lemon-Lime
Circus Animal Cookie
Lucky Charms
Honey
Peppermint
Hot Cinnamon
Peanut Butter & Jelly
Flavors I’m still developing:
Blueberry
Toasted Coconut
Chocolate Orange


